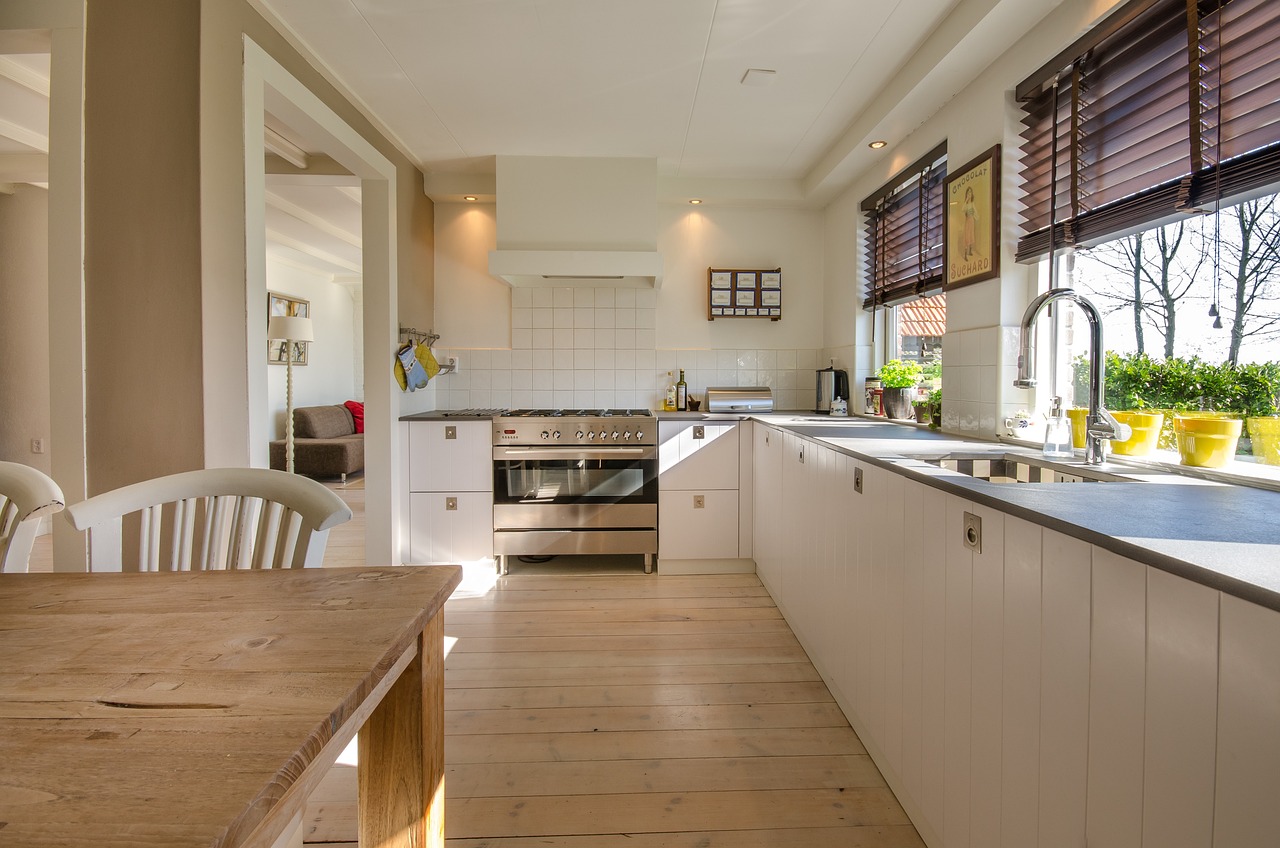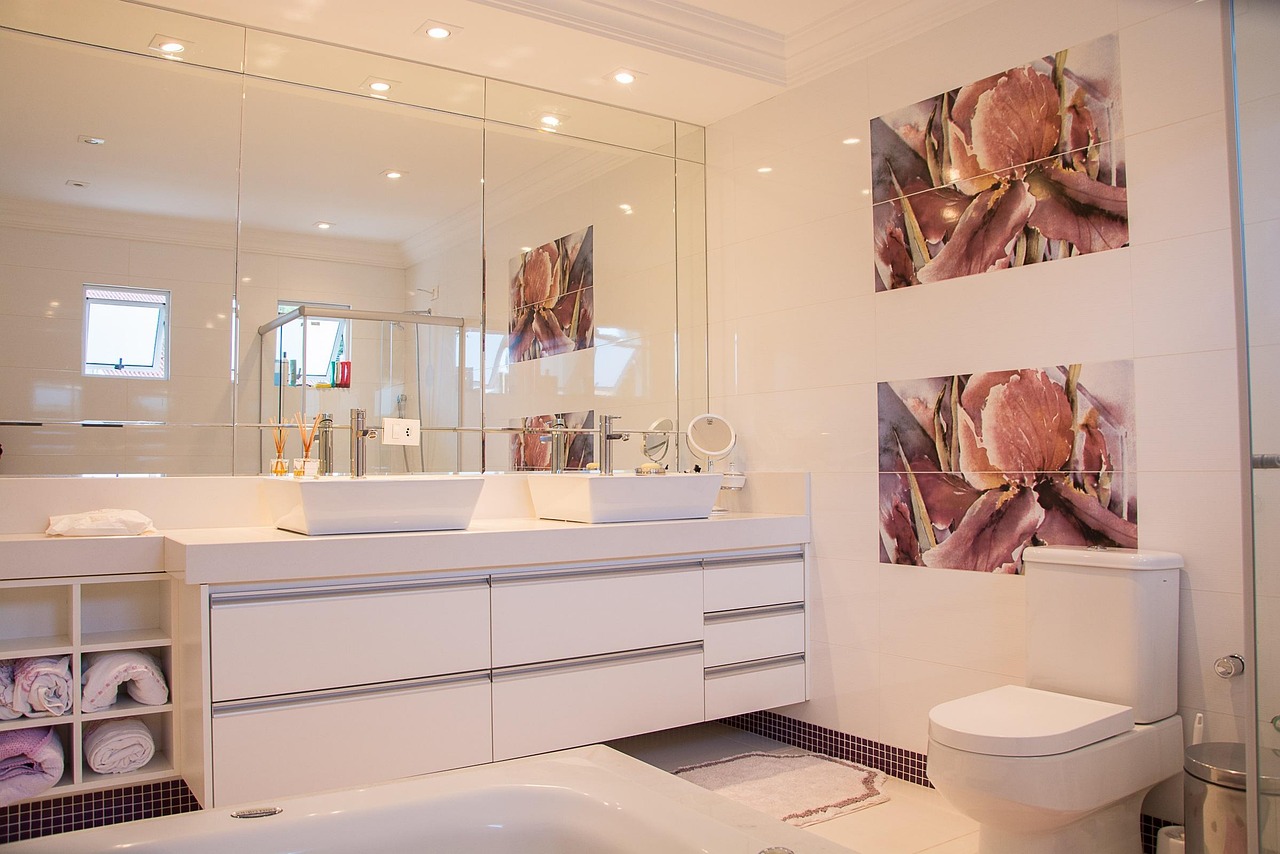
Converting a tub to a shower can instantly make your bathroom feel larger, easier to clean, and safer to use—especially if you choose a walk-in or curbless design that improves accessibility. You can expect a conversion to range from a simple, low-cost swap that uses a prefabricated kit to a more involved remodel requiring plumbing and waterproofing changes, so plan your budget and timeline around the scope you want.
This article Tub to Shower Conversion walks you through the essential steps—assessment, demo, plumbing, waterproofing, and finishing—and shares expert considerations like tile choices, grab bars, and contractor selection to help you avoid common pitfalls. Follow the guidance to decide quickly whether a DIY kit or a pro installation makes the most sense for your space and goals.
Essential Steps for Tub to Shower Conversion
You’ll assess space, select fixtures and materials, remove the tub, and adjust plumbing to fit the new shower. Each task affects cost, timeline, and accessibility, so plan decisions that match your budget and daily needs.
Planning and Preparation
Measure the existing tub alcove and door swing before you buy any fixtures. Note wall stud spacing, floor slope, and the location of the drain and supply lines; take photos for reference.
Check local permits and building codes for shower conversions in your area. Determine if you need a licensed plumber or contractor for plumbing or structural changes to comply with code.
Decide on timeline, budget, and who will do the work. Get at least three bids if you hire professionals, and list long-lead items (shower pan, custom glass, tile) to avoid delays.
Protect adjoining rooms with plastic sheeting and floor protection. Turn off water at the main or the bathroom shutoff and prepare a temporary bathing plan for occupants.
Choosing the Right Shower Design
Choose between a prefabricated shower pan or a custom-tiled base; prefabs reduce labor and waterproofing risk, while custom tile offers more layout and finish options. Measure the finished shower entry and clearance for any existing door or hardware.
Select wall materials: acrylic or fiberglass panels install quickly; cement board plus tile gives durability and visual flexibility. Match grout and sealant to the tile’s porosity to minimize maintenance.
Pick fixtures that fit your water pressure and usage: single-handle valve for simplicity, pressure-balance or thermostatic valves for scald protection. Consider grab bars, a built-in bench, and low-threshold pans if you need aging-in-place features.
Plan drainage: a center vs. linear drain affects tile slope and aesthetics. Order glass doors or curtains after finishing tile measurements to ensure proper fit.
Demolition and Removal
Shut off water and remove the tub surround carefully to preserve surrounding drywall if you plan to reuse it. Score caulk lines and remove trim to release the tub without damaging studs.
Cut through the tub flange to remove cast-iron or steel tubs; use reciprocating saws for ease. For acrylic or fiberglass tubs, unfasten screws and pry gently to avoid cracking tiles.
Dispose of old materials according to local regulations; heavy items like cast-iron tubs may require special pickup. Protect subfloor and check for hidden water damage once the tub is out.
Inspect framing and subfloor for rot, mold, or insufficient slope. Replace damaged sections and install a proper shower curb or threshold to meet code and waterproofing requirements.
Plumbing Adjustments
Locate the existing drain assembly and determine whether the drain position needs to change. Moving a drain typically requires opening the subfloor and possibly cutting into joists, so plan for structural reinforcement if needed.
Replace or reconfigure the shower valve to suit your chosen fixtures and safety features. Install a pressure-balance or thermostatic mixing valve if you want anti-scald protection.
Ensure supply lines are accessible and insulated where necessary. If converting from tub spout to wall-mounted shower head, raise the supply height and install appropriate backing in the wall for secure mounting.
Waterproof the new shower drain and pan assembly using a tested membrane system or a factory-lined pan. Pressure-test the drain and valve rough-in before closing walls to prevent costly leaks.
Expert Tips and Considerations
Focus on making the shower safe and accessible, choose durable materials that match your maintenance willingness, and plan budget items like labor, waterproofing, and permits so costs don’t surprise you.
Accessibility and Safety Features
Prioritize threshold height and grab-bar placement for safe entry and exit. Aim for a zero- or low-threshold pan if mobility is a concern; a 1/2-inch to 1-inch threshold is a compromise when a full curbless install isn’t feasible.
Install grab bars anchored to studs; use at least two—one vertical near the controls and one horizontal or angled near the seat area. Place bars at 33–36 inches above the floor for typical users, and verify screw length and backing for 250–300 lb ratings.
Choose a textured, slip-resistive floor material with a slip-resistance (COF) rating suitable for wet areas; tile with smaller mosaics improves traction. Add a built-in or fold-down seat if you expect seated bathing. Finally, position controls within reachable distance of the entrance to let you turn on water before stepping in.
Selecting Quality Materials
Select a shower base material based on longevity and maintenance: acrylic or fiberglass suits budget remodels, while solid surface or tiled pans offer durability and repairability. For tile, choose porcelain with water absorption under 0.5% and use a polymer-modified thinset.
Waterproof the walls with a bonded membrane or cement board plus a liquid-applied membrane behind tile. Use stainless steel or brass fixtures with ceramic disc cartridges to reduce leak and maintenance risk. Prefer tempered safety glass for doors and 3/8″ thickness for frameless panels when possible.
Match grout and sealant to the expected cleaning regimen: epoxy grout resists staining but is harder to work with; silicone sealants should be mildew-resistant. Keep spare finish-matched trim pieces for future repairs.
Cost Factors and Budgeting
Break your budget into these line items: demolition and disposal, plumbing modifications, waterproofing, base and wall materials, fixtures and glass, labor, permits, and contingency (10–20%). Expect labor to represent 40–60% of total costs in many markets.
Plumbing moves—especially relocating the drain or adding a linear drain—add substantial cost; measure and price any drain rework before committing to tile plans. Choose a prefabricated shower pan to reduce labor and waterproofing costs versus a custom-tiled pan.
Obtain at least three written quotes that itemize labor and materials. Reserve a contingency fund for hidden issues such as subfloor rot or mold; these commonly appear once the tub is removed.