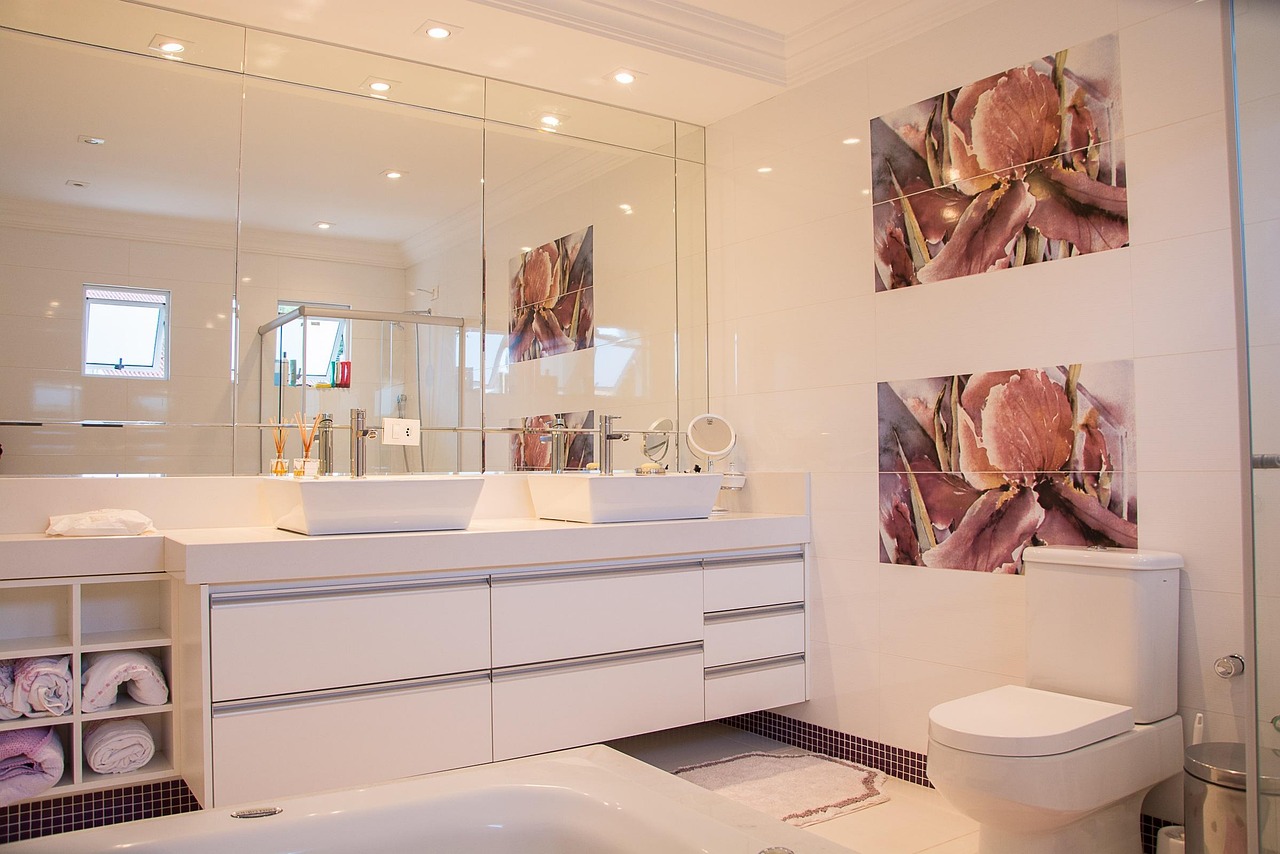
You can upgrade your comfort and cut cold-floor complaints by installing heated flooring that fits your home and budget. Electric systems work well for small areas and remodels with minimal floor buildup, while hydronic systems deliver lower operating costs for whole-house heating. This article Heated Flooring Installation shows what each option involves and why one may suit your space better.
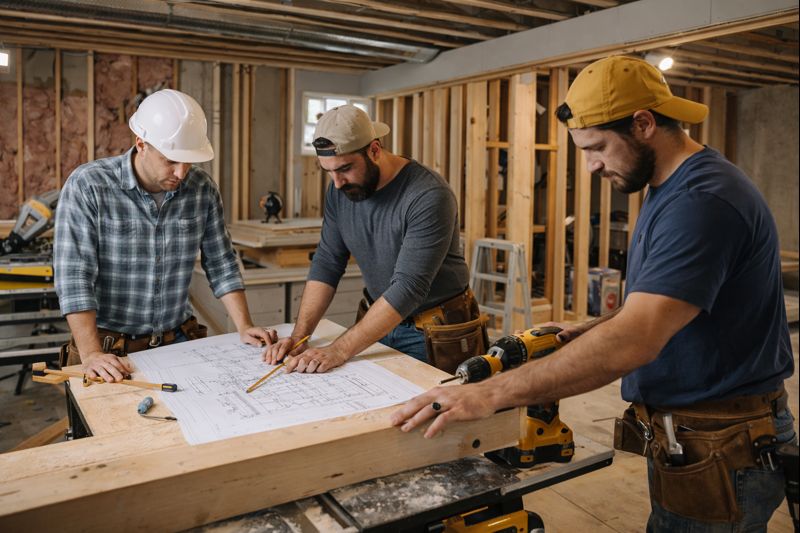
In this post flooring installation, Prepare to learn practical steps and realistic trade-offs so you can decide if a DIY install or pro help makes sense for your project. Expect clear guidance on materials, site prep, and the installation process so you can plan time, cost, and performance without guesswork.
Types of Radiant Floor Heating
You’ll choose between systems that deliver heat with electric resistance or with warmed water circulating through tubing. Each type has different installation steps, upfront costs, running costs, and best use cases.
Electric Systems
Electric systems use cables, mats, or heating film installed beneath the finished floor. They heat quickly and work well for single rooms, bathrooms, and retrofit projects because the components are thin and fit under tile, vinyl, or engineered wood.
Expect lower installation time and lower upfront plumbing complexity; however, your operating cost depends on local electricity rates. You control the system with thermostats and often programmable timers or smart controls for room-by-room zoning.
Installers typically secure mats or loose cables over an underlayment or thinset, then cover with tile or thin floor finishes. Electric systems are ideal when you want fast response, minimal floor buildup, and straightforward installation in discrete areas.
Hydronic Systems
Hydronic systems circulate warm water through PEX tubing embedded in a slab, screed, or a thin-panel subfloor. They suit whole-house heating and larger open areas because water carries heat efficiently and running costs tend to be lower when paired with high-efficiency boilers, heat pumps, or solar thermal.
Installation is more involved: you’ll need a manifold, pump, controls, and either a concrete pour or plasterboard panels to secure tubing. Plan for higher upfront labor and materials, and for integration with your HVAC and hot-water systems.
You gain long-term efficiency and smoother, more consistent floor temperatures. Hydronic systems perform best under tile, stone, and other high thermal-mass coverings, and they work well when you want to heat multiple zones from a single heat source.
Preparation and Installation Process
You will evaluate the subfloor, choose appropriate insulation, lay the heating elements with correct spacing and fastening, and wire controls and thermostats to local electrical codes. Each step requires specific measurements, materials, and testing to ensure safe, efficient operation.
Assessing Subfloor Requirements
First measure subfloor type and thickness. For concrete, check moisture using a calcium chloride or relative humidity test; values under 3 lb/24hr/1000ft² (ASTM F1869) or RH under 75% (ASTM F2170) are typical targets before installing electric mats or hydronic tubing. For plywood or OSB, confirm joist spacing and stiffness; deflection must be minimal (L/360 or better) to avoid floor movement that can damage systems or finish flooring.
Remove loose material, level low spots with a cementitious patch or self-leveling compound, and repair gaps greater than 1/8 inch. If installing over a slab with radiant hydronic tubing, plan embedment depth and slab thickness to meet manufacturer thermal response times. Record elevations and make a wiring/tubing layout diagram before cutting or fastening to avoid hidden pipes and wiring.
Selecting Insulation Materials
Choose insulation based on floor type and system: rigid foam (XPS/PIR) under slab or beneath electric mats, and reflective foil or thin foam under timber subfloors. For concrete slabs, use at least R-5 (preferably R-10) continuous rigid insulation at slab perimeter to reduce heat loss into the ground. Under suspended timber floors, install 1–2 inches of high-density foam or foil-faced insulation between joists to direct heat upward.
Verify compressive strength for load-bearing locations; use 25–40 psi foam under floor finishes. Use vapor barriers only where moisture tests indicate risk—position the barrier per manufacturer guidance. Fasten insulation tightly with adhesive or mechanical fixings, and seal seams with foil tape to create a continuous thermal break that improves response time and lowers operating cost.
Laying Heating Elements
Map the room and mark fixed objects: cabinets, islands, and built-ins where heating should not run. Follow the heating system layout: electric mats, loose-wire cable, or PEX tubing spacing determines wattage per square foot and heat output. Maintain manufacturer-recommended spacing—typically 2–3 inches for electric cable and 6–12 inches for hydronic tubing—to achieve target surface temperatures without overheating.
Secure elements using manufacturer-approved staples, clips, or adhesive; avoid crossing or overlapping heating wires or tubing. Keep a minimum clearance from walls and fixtures (commonly 1–2 inches). Embed electric mats in thinset under tile or in a leveling compound for floating floors; for hydronic systems, tie tubing to reinforcement mesh and pour specified screed depth. Test continuity and insulation resistance with a multimeter before covering to detect damage early.
Connecting Controls and Thermostats
Locate thermostats away from direct sunlight, drafts, or appliance heat to prevent false readings. For electric systems, run thermostat sensor leads in conduit or sensor tubing across the floor in the manufacturer-specified location and depth; place the floor sensor between two heating runs, not directly over a heating element. For hydronic systems, wire zone valves or manifold actuators to a programmable controller that supports outdoor reset and staging for efficiency.
Hire a licensed electrician or plumber when local code requires; all electrical connections must meet NEC/local code and use GFCI protection where specified. Configure thermostats with correct floor type and maximum floor temperature limits (often 80–85°F for finished living floors). After wiring, perform a system functional test: call for heat, verify zone response, and record thermostat and floor temperature behavior before installing final floor covering.